Building a digital clock is a good beginner-friendly project that can help you learn more about HTML, CSS and JavaScript. There are many tutorials available online that can guide you through the process of building a "Digital Clock". A below one such beginner-friendly projects:
In this article, we'll learn to build a simple Digital Clock using some of the basic web development skills that you currently possess. We'll not work much on the UI of the clock, but in fact focus a lot on how to use JavaScript to put everything together to build the clock. so, let's get started.
First let's work on the markup. All we need is a single div element with a class of clock.
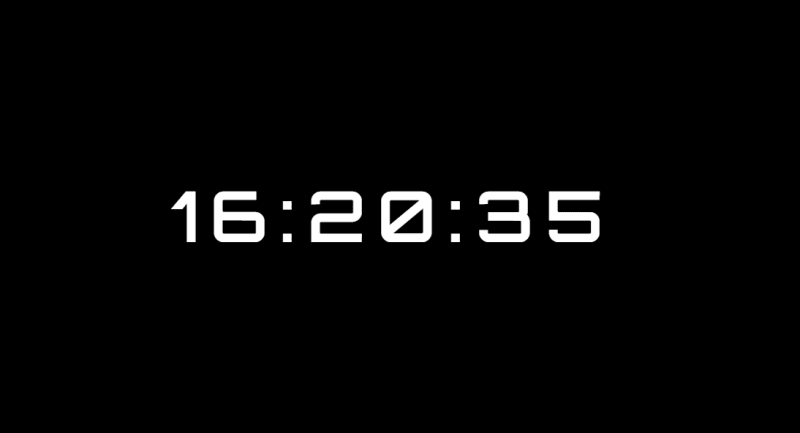
<div class="clock">16:20:35</div>
This div element will contain the digits of the clock in the hh:mm:ss
format. For now, I've simply added some placeholder digits, which will
later be replaced dynamically with the current time using JavaScript.
Now, let's add a few CSS styles.
@import url('https://fonts.googleapis.com/css2?family=Orbitron:wght@400;500;600&display=swap');

body{
  background: #000;
  height: 100vh;
  display: flex;
  justify-content: center;
  align-items: center;
}

.clock{
  color: #fff;
  font-family: 'Orbitron', sans-serif;
  font-size: 6rem;
  letter-spacing: 1rem;
  font-weight: bold;
}
In the above styles, notice that we are using a custom Google font
named Orbitron, which is best-suited for a digital clock. I've also
added a few flex properties to the body simply to
vertically and horizontally center the clock. Lastly, a few styles have been added to the .clock div to slightly increase the font size and add a bit of a spacing. Below is a screen shot of what the clock looks like.
Lastly, let's start working on the most important part, the JavaScript. First let's create a variable named clock. This variable will store the div element that has a class of clock.
let clock = document.querySelector('.clock')
Now, we need to create a function to get the current hours, minutes and seconds. We'll name the function as updateTime.
function updateTime(){
  let hours = new Date().getHours();
  let minutes = new Date().getMinutes();
  let seconds = new Date().getSeconds();
}
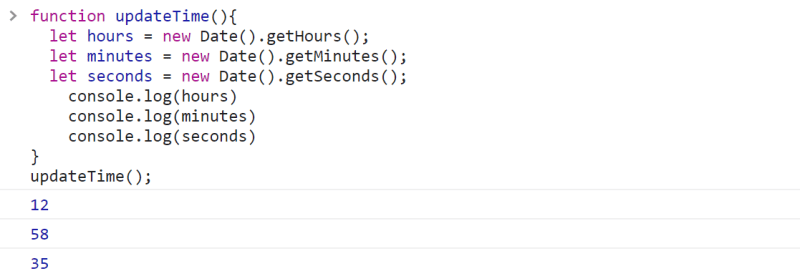
In the above function, the new Date() constructor gets the current date and time. The 3 methods getHours(), getMinutes(), getSeconeds() give us the current hour, minutes and seconds respectively. If we run this function in the console, we get:
12:58:35.
The next thing we need to do is simply insert the hours, minutes and the seconds in the div element which has the class of clock. For this, we'll be using the innerText property. Add the below line inside the function updateTime().
clock.innerHTML = `${hours}:${minutes}:${seconds}`;
One additional thing we need to do is add an extra '0' if the digits are below 10. For instance if the time is 1:15:5, we want it to display 01:15:05. Add the below 3 lines of code in the function updateTime() just before the line clock.innerText = .....
hours = hours < 10 ? "0" + hours : hours;
minutes = minutes < 10 ? "0" + minutes : minutes;
seconds = seconds < 10 ? "0" + seconds : seconds;
In the first line of code above, all we are trying to say is 'if the hours is less than 10, which means, if it is anything between 0 to 9, add an extra 0 in front of it. Or else, keep it as it is'. We are doing the same thing with the minutes and the seconds.
So far, we have the below JavaScript code:
let clock = document.querySelector('.clock')

function updateTime(){
  let hours = new Date().getHours();
  let minutes = new Date().getMinutes();
  let seconds = new Date().getSeconds();

  hours = hours < 10 ? "0" + hours : hours;
  minutes = minutes < 10 ? "0" + minutes : minutes;
  seconds = seconds < 10 ? "0" + seconds : seconds;

 clock.innerHTML = `${hours}:${minutes}:${seconds}`;
}
Now, all we need to do is simply display the time on our screen by calling the function updateTime() at the very end, outside the function block.
let clock = document.querySelector('.clock')

function updateTime(){
  let hours = new Date().getHours();
  let minutes = new Date().getMinutes();
  let seconds = new Date().getSeconds();

  hours = hours < 10 ? "0" + hours : hours;
  minutes = minutes < 10 ? "0" + minutes : minutes;
  seconds = seconds < 10 ? "0" + seconds : seconds;

 clock.innerHTML = `${hours}:${minutes}:${seconds}`;
}
updateTime();
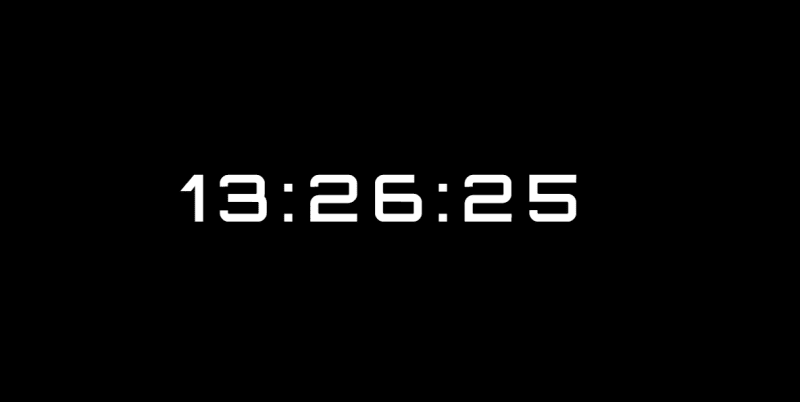
Here's what our clock looks like:
But, our clock doesn't dynamically update yet. You need to refresh
every time you want to check the updated time. So, to dynamically update
our clock every second, we will be using the setTimeout() method. Add the below line inside the function block at the very end.
setTimeout(updateTime, 1000);
This setTimeout() method will call the function updateTime every 1000 milliseconds, i.e. after every second. So, the final JavaScript code that we have is:
let clock = document.querySelector('.clock')

function updateTime(){
  let hours = new Date().getHours();
  let minutes = new Date().getMinutes();
  let seconds = new Date().getSeconds();

  hours = hours < 10 ? "0" + hours : hours;
  minutes = minutes < 10 ? "0" + minutes : minutes;
  seconds = seconds < 10 ? "0" + seconds : seconds;

 clock.innerHTML = `${hours}:${minutes}:${seconds}`;

setTimeout(updateTime, 1000);
}
updateTime();
If you've done everything right, this is how your digital clock will look like:

In the above .gif image, you can notice that the clock
is slightly shifting left and right, and that is because the digits do
not have an even width. One of the easiest way to eliminate this issue
is to remove the justify-content property given to the body element and give a margin-left to the clock div. I found 'margin-left:30%' seemed good enough to center the clock on larger displays.
So, that was a the tutorial on how to create a digital clock using HTML, CSS and JavaScript. I hope it will be helpful for those who are interested in learning more about web development. Have a great day!


No comments:
Post a Comment